
Fizzing cleaning tablets have become a popular small project for people who want to cut down on plastic packaging, simplify their cleaning supplies, or experiment with gentler household routines. If you have ever wondered how to make toilet bowl cleaner tablets at home, the process is genuinely straightforward — but the results come with a few important caveats.
This guide walks you through a basic recipe, step-by-step assembly, usage tips, and the safety rules you should never skip. Just as importantly, it sets realistic expectations: homemade tablets can support routine maintenance, but they are not a one-to-one replacement for commercial disinfecting cleaners.

Why People Are Trying Homemade Toilet Cleaning Tablets
Interest in DIY toilet bowl cleaner tablets has grown alongside the broader low-waste movement. The appeal is easy to understand: fewer plastic bottles, lower per-use cost, more control over fragrances, and a simple recipe made from pantry-friendly ingredients.
For households trying to reduce harsh chemical exposure or just looking for a small, satisfying DIY project, fizzing tablets offer a manageable starting point. They also store compactly, which appeals to people in small apartments.
Before You Start: Are Homemade Toilet Bowl Cleaner Tablets Effective?
Before mixing anything, it helps to be clear about what these tablets can and cannot do. Setting realistic expectations now will save frustration later.
What DIY Tablets Can Reasonably Do
Homemade fizzing tablets can help loosen light surface residue, freshen odors, and support general upkeep between deeper cleanings. They are useful as a low-effort, in-between maintenance step.
What DIY Tablets Cannot Do
They are not equivalent to commercial disinfecting toilet cleaners. They will not eliminate all bacteria or viruses, and they do not replace regular brushing or periodic deep cleaning. Anyone expecting hospital-grade sanitation from baking soda and citric acid will be disappointed.
When a Commercial Cleaner Is Still the Better Choice
If someone in the household is ill, if there is heavy mineral buildup, visible biofilm, or persistent stains, a registered commercial cleaner is the more appropriate tool. DIY tablets are best treated as a complement to — not a replacement for — proven cleaning products.
Ingredients You'll Need
The recipe uses a short list of common, mild materials. You likely have most of them already.
Core Dry Ingredients
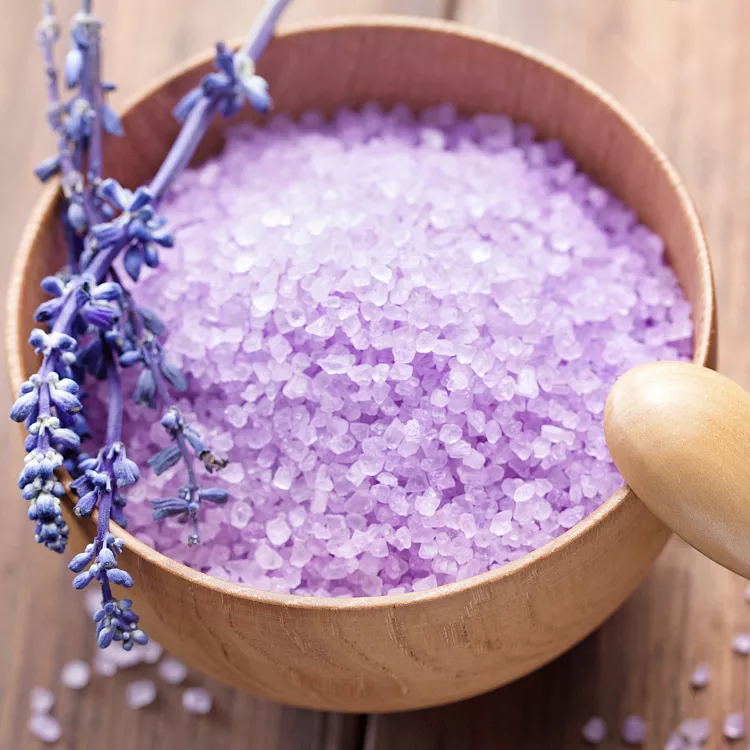
Baking soda (sodium bicarbonate) — the bulk base that provides gentle abrasion and odor control.
Citric acid — reacts with baking soda in water to create the fizzing action.
Cornstarch — helps bind the tablet and slows the reaction so it doesn't crumble.
Binding Liquid (Use Sparingly)
A small amount of dish soap, plain water, or witch hazel mist is enough to hold the mixture together without setting off premature fizzing. Less is genuinely more here.
Optional Additions
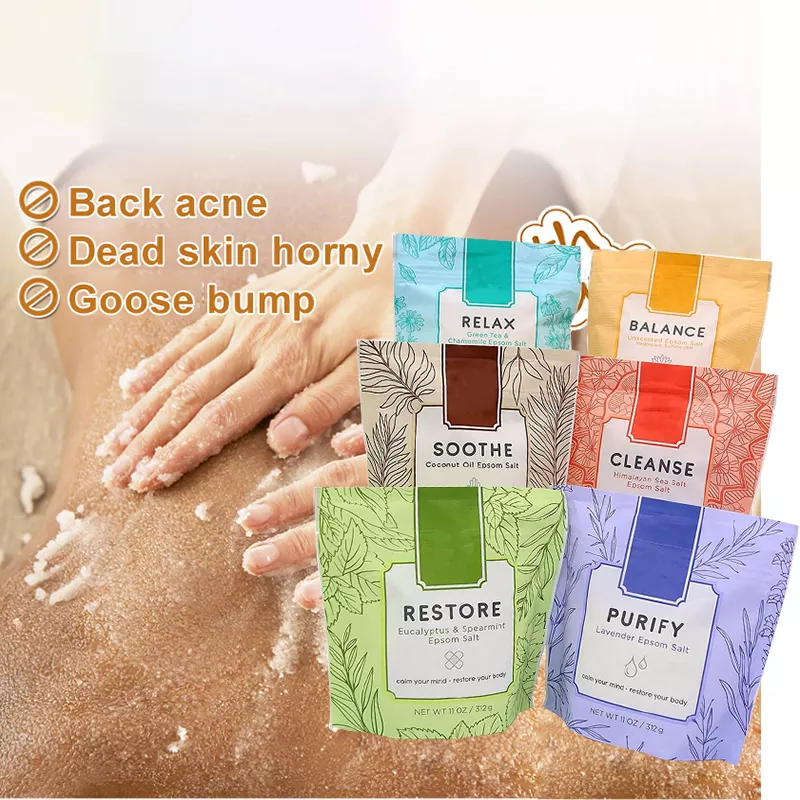
A few drops of essential oil — such as lemon, tea tree, or eucalyptus — can add a pleasant scent. Use sparingly to avoid skin irritation or oily residue.
Typical Ratio Example
A reliable starting point: 1 cup baking soda, ½ cup citric acid, and 1 tablespoon cornstarch. Add binding liquid only as a fine mist, and stop the moment the mixture holds its shape when pressed.
Tools You'll Need
You don't need anything specialized. Most kitchens already have what's required.
Mixing Tools
A glass or stainless steel bowl, a silicone spatula or whisk, and a small spray bottle for the liquid binder. Avoid reactive metals like aluminum.
Molding Tools
Silicone molds, ice cube trays, or mini muffin molds work well. Silicone makes unmolding much easier once the tablets are dry.
Protective Gear
Wear gloves, and ideally eye protection. Citric acid powder can irritate skin and eyes, and fine baking soda dust can be uncomfortable to breathe.
Step-by-Step Guide: How To Make Toilet Bowl Cleaner Tablets
Follow the steps in order. Rushing — especially when adding liquid — is the most common cause of failed batches.
Step 1: Prepare Your Workspace
Put on gloves, open a window or turn on the vent fan, and clear a flat surface. Make sure your molds are completely dry.
Step 2: Combine the Dry Ingredients
Whisk together the baking soda, citric acid, and cornstarch until the color and texture are uniform. Break up any clumps gently with the spatula.
Step 3: Add Essential Oil (Optional)
If you want scent, add only a few drops and stir quickly to distribute. Too much oil softens the tablets and can irritate skin during use.
Step 4: Mist in the Binding Liquid Slowly
Spritz dish soap solution, water, or witch hazel one light pass at a time, stirring between sprays. You're aiming for a damp-sand texture that holds shape when squeezed — not a wet paste.
Step 5: Avoid Premature Fizzing
If you see bubbling form in the bowl, you've added liquid too quickly. Mix in a small amount of additional baking soda to absorb the moisture and slow the reaction.
Step 6: Press Into Molds
Pack the mixture firmly into your silicone molds or ice cube trays. Strong, even pressure helps the tablets hold their shape once they dry.
Step 7: Let Them Dry
Allow the tablets to air-dry for 12 to 24 hours in a cool, dry place. Humid environments — including most bathrooms — may require longer drying times.
Step 8: Unmold and Inspect
Once fully hardened, gently pop the tablets out. If any crumble, simply remix them with a light mist of binder and press them again.
Step 9: Transfer to a Sealed Container
Move the finished tablets immediately into an airtight jar to keep moisture out. Exposure to humid air will weaken their fizzing power.
How To Use Homemade Toilet Bowl Cleaner Tablets
Using your homemade toilet cleaning tablets is simple, but a few small habits make a real difference.
Step 1: Drop One Tablet Into the Toilet Bowl
Use a single tablet at a time. Handle with dry hands or tongs — wet skin can trigger the fizz prematurely.
Step 2: Let It Fizz and Dissolve
Wait until the visible bubbling stops, usually within a few minutes. The fizz helps distribute the cleaning solution around the bowl.
Step 3: Let It Sit Briefly
Allow the solution to rest in the bowl for around 5 to 10 minutes. This gives the mild ingredients more time to loosen light residue.
Step 4: Scrub With a Toilet Brush
Brushing is still essential. The tablet alone will not lift stuck-on grime — mechanical scrubbing does most of the visible work.
Step 5: Flush and Repeat If Needed
For stubborn spots, repeat with another tablet later — not at the same time. Never combine your DIY tablet with a second cleaning product in the same flush cycle.
Storage Tips
How you store your tablets affects how well they perform weeks later.
Use Airtight Containers
Glass jars with tight-sealing lids work best. Avoid leaving tablets exposed to humid bathroom air, which will quickly weaken their fizz.
Keep Away From Heat and Moisture
Store in a cool, dry cabinet — not on top of the toilet tank, near the shower, or under the sink where leaks may occur.
Label Clearly
Mark the container with the contents and the date made. Most batches of homemade toilet cleaning tablets are best used within 1 to 2 months.
Keep Out of Reach
Store well away from children, pets, and food items. Even mild ingredients can cause harm if swallowed or rubbed into eyes.
Safety Precautions
These rules are non-negotiable. "Natural" does not automatically mean risk-free, especially when chemistry is involved.
Never Mix With Other Cleaning Products
Do not combine with bleach.
Do not combine with ammonia-based cleaners.
Do not combine with strong acids or strong alkaline cleaners.
Do not use alongside any other toilet cleaner in the same flush cycle.
Mixing common cleaning chemicals can release toxic gases. When in doubt, flush thoroughly between products and ventilate the room.
Use Essential Oils Sparingly
Excess oil can irritate skin, damage some plastics, and leave a slippery residue. A few drops per batch is plenty.
Protect Skin, Eyes, and Lungs
Wear gloves while mixing and using. Ventilate the bathroom during application. Citric acid dust can irritate the respiratory tract if inhaled.
Keep Away From Children and Pets
Curious hands and noses don't recognize the difference between bath bombs and cleaning tablets. Store securely and out of reach.
Do Not Place Tablets in the Toilet Tank
Unless both your specific formula and your toilet manufacturer's instructions explicitly allow it, keep tablets in the bowl only. Tank placement can corrode rubber seals and metal components over time.
Septic System Caution
If you have a septic system, check whether your specific ingredients — especially essential oils and dish soap — are compatible before regular use. Occasional use is usually fine; daily use may not be.
Stop If You Notice a Reaction
If you experience a sharp odor, skin irritation, headaches, or any unusual reaction, stop using the tablets, ventilate the room, and rinse exposed skin with water.
Common Mistakes To Avoid
Most failed batches come down to a small handful of avoidable errors.
Adding Too Much Liquid Too Fast
This is the number one reason tablets fizz prematurely in the bowl or fall apart in the mold. Mist slowly and stir between each pass.

Skipping the Cornstarch
Without a binder, tablets tend to crumble before they fully dry. Cornstarch also slows the reaction so the fizz lasts longer in the bowl.
Using Wet Molds
Even small amounts of moisture in molds can trigger early reactions. Dry molds thoroughly before pressing in the mixture.
Storing Before Fully Dry
Soft tablets stuck together inside a jar are a common frustration. When in doubt, give them an extra few hours of drying time.
Overdosing on Essential Oils
More scent does not equal more cleaning power — and can cause skin or respiratory irritation. Restraint produces better, safer tablets.
When Not To Use DIY Toilet Tablets
There are situations where reaching for a commercial product is the smarter, safer choice.
Illness
If anyone in the household has a stomach bug, the flu, or any contagious illness, switch to an EPA-registered disinfecting cleaner until everyone has fully recovered. Homemade fizzing tablets do not have the kill-claims needed to interrupt the spread of pathogens, and during an active illness, that gap matters.
Hard Water and Mineral Buildup
In homes with very hard water, you may notice rust-colored rings or chalky calcium deposits below the waterline. Citric acid in DIY tablets helps slow new buildup, but it usually isn't concentrated enough to dissolve thick existing scale. A dedicated descaler or pumice stone is more effective for that job.
Visible Mold, Mildew, or Biofilm
Pink or black slime under the rim is a sign of biological growth that needs a true disinfectant. Treat the problem first, then return to DIY tablets for ongoing maintenance once the bowl is clean.
Public-Facing or Shared Bathrooms
Rentals, short-term stays, and shared workplace bathrooms generally need a documented sanitation routine. Stick with labeled commercial products in those contexts so you have a clear standard to follow.
Troubleshooting Your Batch
Even careful makers run into the occasional odd batch. Here's how to read the symptoms.
Tablets Crumble When Unmolded
The mixture was too dry, or it wasn't packed firmly enough. Crumble everything back into the bowl, add one or two light mists of binder, and press again with more pressure.
Tablets Expanded or Cracked in the Mold
A slow, ongoing reaction occurred during drying — usually from ambient humidity or too much liquid. Next batch, reduce the binder by half and dry in a less humid room.
Weak or No Fizz in the Bowl
The citric acid may have already reacted during mixing or storage. Check thatyour storage jar is fully airtight, and avoid leaving the lid off in a steamy bathroom. If the batch is more than two months old, it's likely time to make a fresh round.
Oily Residue Left in the Bowl
This usually points to too much essential oil or too much dish soap. Cut both in half next time, and give the bowl a quick brush-and-flush to clear the film.
Final Thoughts
Learning how to make toilet bowl cleaner tablets is a satisfying, low-cost project that fits neatly into a broader low-waste routine. Used realistically — as a maintenance tool alongside regular brushing and occasional deeper cleaning — they can keep a bowl looking and smelling fresh between more thorough sessions.
Keep your expectations grounded, respect the safety rules around mixing chemicals, and treat the recipe as a starting point you can refine over time. A simple jar of homemade tablets on the shelf is a small, practical step toward a tidier cleaning cupboard and a more intentional household routine.
Frequently Asked Questions
Q: How Often Can I Use Homemade Tablets?
A: For routine maintenance, two to three times per week is a reasonable rhythm in most households. Daily use is generally unnecessary and may be hard on septic systems.
Q: Can I Use Vinegar Instead of Citric Acid?
A: No — vinegar is a liquid and will react with the baking soda immediately, ruining the batch. Citric acid powder is what allows the reaction to happen later, in the bowl.
Q: Are These Tablets Safe for All Toilets?
A: They are generally safe for standard porcelain bowls when used as directed. If your toilet has special coatings, or if the manufacturer warns against acidic cleaners, follow their guidance instead.
Q: Can I Scale the Recipe Up?
A: Yes, but make smaller test batches first to dial in the binder ratio for your climate. Large batches made in humid weather are more prone to premature fizzing.